I like to try out different tech stacks whenever I work on a hobby project. Same goes for this blog, I've tried using a new tool wherever I could. Following is a list of these tools and in general just everything that took to get this blog up and running.
Statamic CMS (Laravel)
I needed a way to manage content - Blog posts, projects, contributions, etc. During the design phase, I had planned to develop a tiny little custom CMS (Content Management System). But that just seemed like an overkill when there's plenty of battle tested solutions out there.
I wasn't a fan of using Wordpress. Not because it wouldn't fit the requirement but because I've worked with it for quite a while and it still feels pretty old school even with all the new updates.
Enter Statamic. Statamic is a Laravel based CMS which does not require a database to store your content. It supports file based storage. Since I don't foresee large amounts of records/relationships being created on this blog, it suits well.
It provides a simple control panel right off the bat but that's optional too, I can just create markdown files to create my blog posts without ever logging in to the control panel. There's many neat little features it is packaged with making it a good choice! Just a fun fact, at the time of writing this, I've written less than 50 lines of PHP code and have all of this up and running!
Here's a sample of how the control panel looks like:
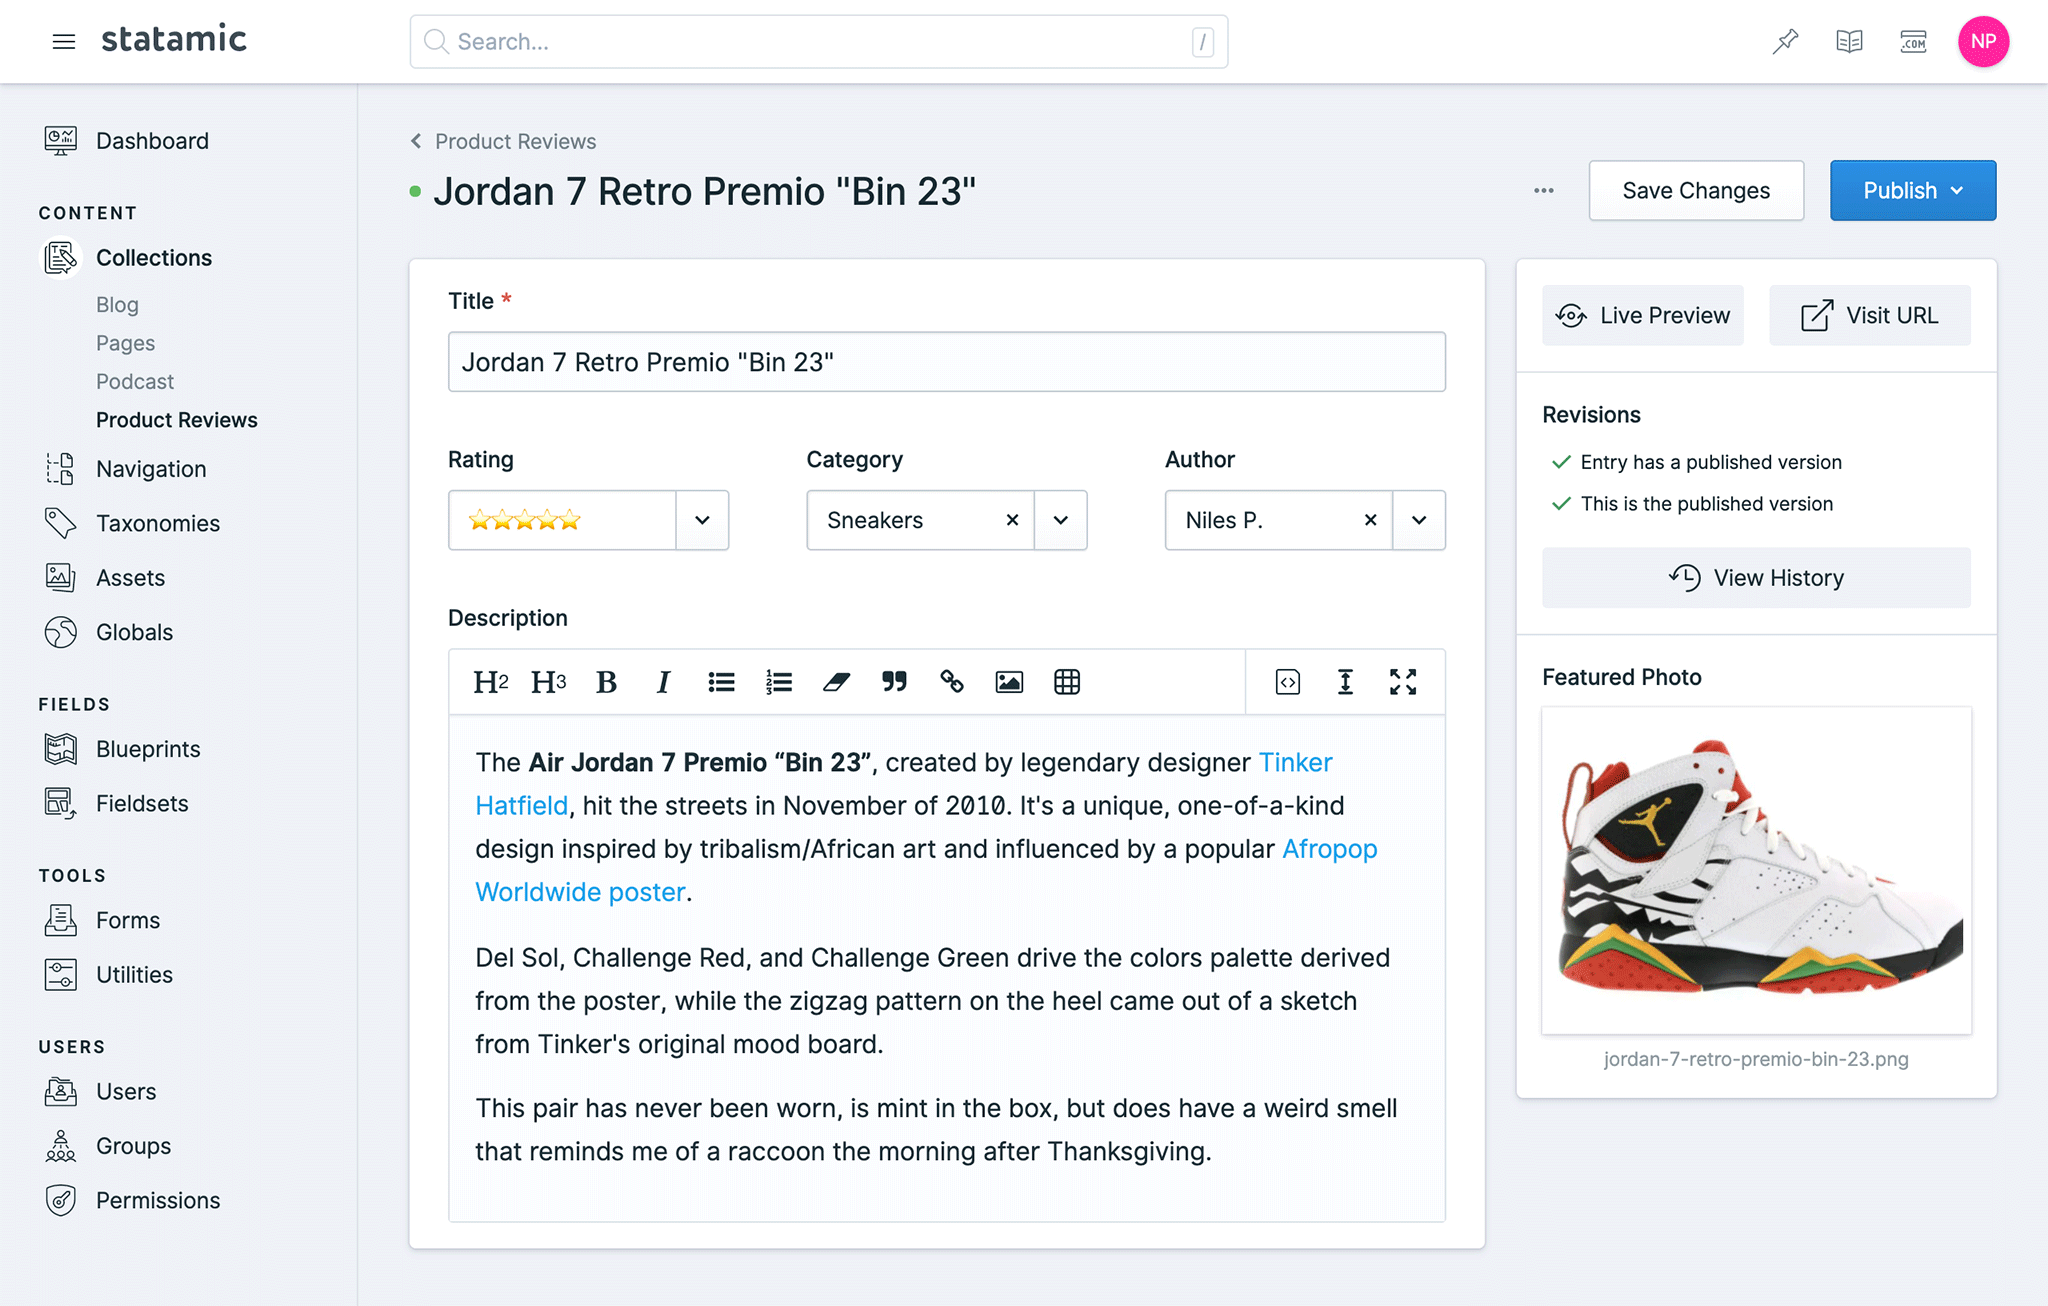
Source: Statamic Homepage
Sass
To start off, I'm not a frontend developer. I love designing but converting the designs into working code, no can do. I needed all the help I could get while developing this site given my CSS skills aren't that great. I had done a quick HTML5/CSS course on Udemy by Traversy Media. That surely got me up to speed with all the flexbox, grid systems and Sass. Last time I did CSS, I still remember using floats for layouts. While Sass didn't eliminate the need to know CSS, it surely made some things easier with features like nesting, variables, loops, etc
DigitalOcean
After the blog finished its initial stages of development, it had to be hosted somewhere. Usually, I'd just go with a basic AWS EC2 + RDS setup. Given Statamic's file based storage, I didn't need a dedicated database service so I could do with just an EC2 instance. But that's just doing what I always do (and incur unnecessary costs along the way), which is why I decided to give DigitalOcean a try. Just a basic $5 droplet and everything just works. Of course it took a bit of time to set up everything - latest version of PHP, SSL certificate, ZSH, Nginx, folder permissions, etc - but that's just a one time setup effort.
Laravel Sail
For local development, I've had a bit of trouble initially since I have 2 accounts on my Mac - Personal and Work. Work has PHP 7.3 in use and Personal requires PHP 8.1. I've tried using Valet's new multi-version support but wasn't successful and with all the brew installation troubles I faced, it just made it harder. To solve this issue, I decided to use Docker. Laravel comes with it's own command line interface for working with Docker - Laravel Sail. The only tiny task I still have to do is stop Valet from running before I start up the Docker container.
Github Actions
The blog's repo is currently private on Github (might make it public someday). I needed to setup some level of CI/CD on this blog just to be able to deploy quicker. I decided to give Github Actions a try. I have a simple deployment script which connects to the Ubuntu instance and runs another deployment script. This deployment script:
- Brings the site down with Laravel's down command
- Pulls latest repository updates
- Installs any dependencies
- Clears cache
- Compiles frontend assets (npm)
- Brings the site back up!
Special Thanks
None of the illustrations seen on the site were mine or designed by me. I found the free illustration packs on Pixeltrue. Unfortunately I don't know the name of the illustrator to credit them but thank you, kind stranger!